There are many methods for growing hydroponically and each has its benefits and drawbacks. There is no singular best method for everyone and every crop. You must decide for yourself what your budget is, how much labor you’re willing to invest, what exactly you want to grow, and at what scale. I’ll outline a broad swath of popular hydroponic methods, try to give you their benefits and drawbacks, and also touch on what plants will and won’t be feasible with that method. At the end of the presentation I have a link to my website where I’ve assembled a list of materials mentioned here and linked to them on Amazon. I’ve also brought a few visual aids with me to demonstrate a few of the methods I will be discussing tonight. Feel free to take a closer look at the end of the presentation.
Aeroponic/DWC “Bubbling Bucket” Method
Ideally this method uses a mist of water and nutrients to feed the roots of plants, but in practice (outside of EPCOT), it generally makes use of a fixed volume of nutrient solution containing aquarium air stones whose bubbles propel water droplets upwards and causes a several-inch zone of the aeroponic mist between the bottom of the plant and the nutrient solution. This method is essentially a hybrid of a Deep Water Culture (DWC) and true Aeroponics.
True DWC typically just has roots in the aerated nutrients without a gap between the bottom of the plant and the surface. While true aeroponics relies on water pumps or even ultrasonics to spray the nutrient solution directly onto roots.
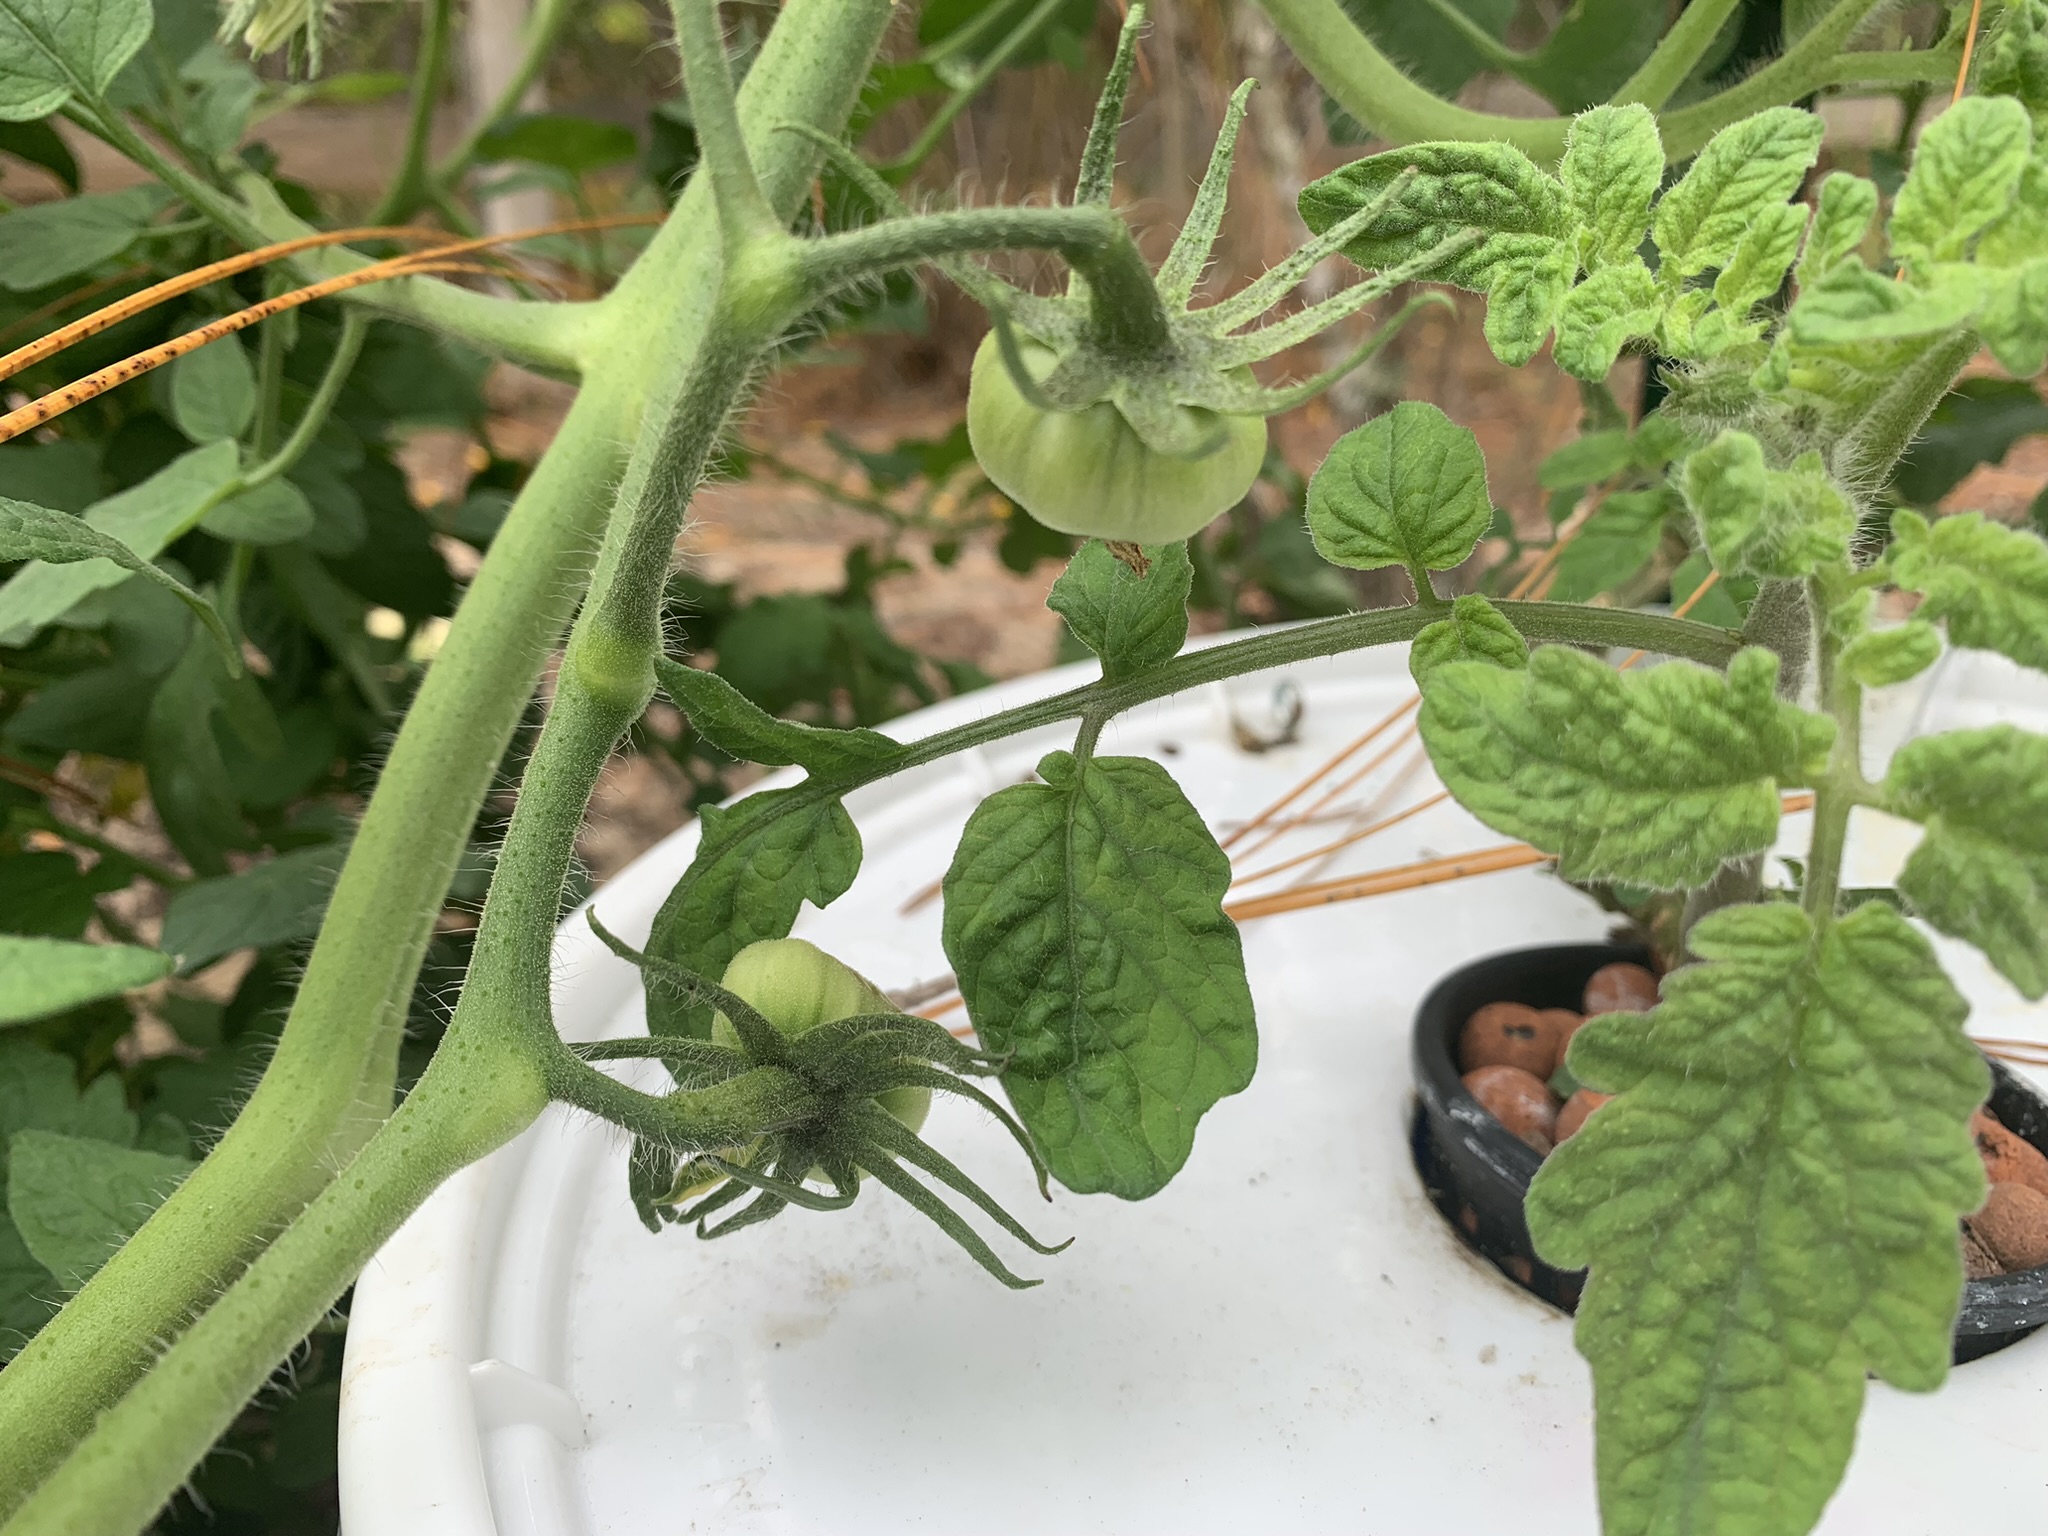
An example setup would consist of a 5 gallon bucket with a lid. A hole is cut into the lid for a net pot filled with geolite containing the plant. Aim for covering ~ 1/2 the root height with nutrient solution. The solution level can be allowed to drop to almost nothing as long as the pH and EC values stay within an acceptable range. The important component is maintaining the nutrient mist.
PROS
Low Maintenance
Low Cost, ~ $10-15 per bucket
Ease of Sourcing Materials
Plants Grow *VERY* Fast
Each bucket has its own reservoir so it is easy to keep from killing everything and allows plants to be greedy without affecting other plants.
A Bubbling Bucket setup can survive power outages and broken pumps for extended periods of time
CONS
Large plants like tomatoes require staking to keep from tipping over. This makes (typically weekly) maintenance difficult.
Need to be able to remove the bucket lid to change nutrients.
Does not scale up nicely for commercial production using buckets.
Requires an air pump and air stones which get clogged
The Kratky Method
This method is named after its inventor, B.A. Kratky from the University of Hawaii. The Kratky method is very similar to aeroponics with a key difference being that it does not use an air pump or air stones and is completely passive. Instead it relies on the gap that forms between the bottom of the plant and the nutrient solution to oxygenate the roots. Net pots may be used as with aeroponic methods or even foam disks to hold lightweight plants. Over time, the plants will use up nutrient solution causing the level to drop. This then causes the roots to grow downwards in search of more nutrients and also more oxygen to contact the roots due to the air gap between the bottom of the plant and the nutrient solution.
PROS
Lowest Maintenance. Potentially no maintenance required at all during the plant life cycle.
Lowest Cost
Great for high density crops like lettuce
Easy to source materials to set up
No reliance on electricity or wearable components
CONS
Difficult to estimate total water/nutrient usage for the lifecycle of all your plants so the system will require monitoring and maintenance until you perfect it for exact conditions.
Not suitable for long term plants. Try to stick to plants with a < 2 month life cycle.
Not as fast of plant growth as methods adding oxygen to nutrient solution.
All eggs in one basket. Shared nutrient reservoir means all your plants can die if you mess up.
If you need to do maintenance, you will have to lift the lid covered in plants.
Does not scale
Dutch Bucket
Dutch buckets are certainly a lot more complex than the previously mentioned methods since you will need to run plumbing to each one, have a reservoir for your nutrient solution, and also have a water pump on a timer. With that said, this is the method to use for growing large, climbing plants like tomatoes or squash. You should not need to do any maintenance to any plant pot for months at a time. This method consists of square buckets filled with geolite or perlite in a line where each bucket can be fed from a drip irrigation style line and drained out their front which dump overflow solution back into the reservoir. The supply system is run on a timer and will have to be tailored to plant requirements and temperatures. If you have a greenhouse or high tunnel with a lot of space and want to grow some larger plants, this is probably the method for you.
PROS
Grow large climbing plants like tomatoes
Minimal maintenance
Can handle power failures and a few days of no watering
Scales extremely well. Generally you can double/triple your plant capacity by adjusting the timer or adding a larger reservoir
Grow media is essentially completely reusable forever
Most components except buckets are easy to find locally
CONS
A fairly complex system to initially setup
Requires a timer that can do 5-10 min intervals
Fairly expensive to build
Lots of points for potential water leaks
The buckets are not easy to DIY so they will need to be purchased
Nutrient Film Technique (NFT)
This method involves using PVCpipe or square plastic fence posts or even downspouts set horizontally, holes drilled to support net pots. The nutrient solution is fed via a water pump from one end and flows downhills to the opposite end of the pipe and returned to a reservoir. The solution is perhaps 1/4” deep and constantly flowing. This is the “nutrient film” in NFT. This method allows you to have high density crops in a system with a central reservoir. You can also grow larger plants like tomatoes but an overhead trapeze support will be required since they get minimal support from the pipes. You will see excellent oxygenation of roots and very fast plant growth. You can also use a NFT system to act as a sort of nursery for your younger plants since you will be able to lift out plants and put them in other platforms such as aeroponic or even transplant to the ground.
PROS
Can run a variety of media or even none at all. Eg: Net pots, rockwool cubes, cotton balls, bare roots
Constant flow prevents salt buildup in roots
Large reservoir which generally means less maintenance
Easy to lift out plants
Can be scaled up in size immensely
Works for high density crops
CONS
Channel can become clogged with roots
If the water pump fails or power is lost for a couple hours, ALL the plants will likely die
A rather complex and costly setup
Several points of failure exist
No real support for large plants
Depending on the setup, a lot of water can be lost to evaporation
General Hydroponics Knowledge
Fertilizer
I recommend using a popular dry hydroponic-specific fertilizer combination:
Calcium Nitrate 15.5-0-0
MasterBlend 4-18-38
Epsom Salts (Magnesium Sulfate)
Use 2 tsp of each per 5 gal water
Links to fertilizers are on the website at the end of the presentation. These are incredibly economical compared to liquid hydroponic fertilizers.
pH and EC
For virtually all hydroponics, the pH should be around 5.5 to 6 but can drop down to 5 without dire consequences. I would avoid letting it hit 7.0+ as all sorts of stuff will start growing in the nutrient solution. EC will be specific to your water and nutrients and is essentially a value that tells you how much fertilizer is in your water. My mix with city water and the previously mentioned dry fertilizer mix is in the ballpark of 1900.
Inside vs Outside
Hydroponics work best when everything is shielded from rain, pests, and excessive sunlight. With that said, you can still do it outside but there are some things to keep an eye out for.
Rain dilution of nutrient solutions and changing pH. Adding more water to your system will dilute and move the pH closer to 7. You may even completely fill Bubbling Buckets and choke out roots. Keep an eye on water levels and test your nutrient solution for pH and EC after lots of rain.
Pests will attack your plants just like any other outdoor plant but you may find mosquitoes breeding in your standing water as well. Also frogs and other large things you wouldn’t typically expect to be pests will now be pests.
Algae will always exist in your systems but keeping it to a minimum is key. Cover any gaps in your systems and any transparent or even thin white plastic should be painted or covered to reduce growth.
Water
NEVER USE CHLORINATED WATER FOR PLANTS.
Either filter the water or set it out for at least a day, preferably in sunlight with an air stone bubbling in it to burn off the chlorine.
You will need to find how much of your specific ‘pH down’ acid is required to drop your specific water down to the pH 5.5 to 6.0 range with your specific fertilizer. If you change pH down type or use water from a different source or a new fertilizer brand/strength, you will need to dial in the pH again.
Time to Get Started
Now that you have some idea of the various hydroponics methods, its time to try one out. Pick a method then check out this post for most of the supplies listed here.


